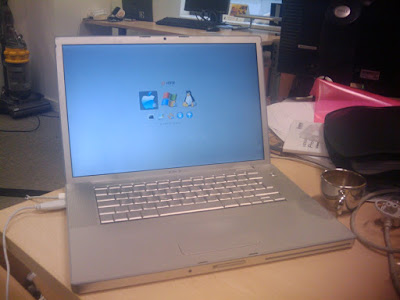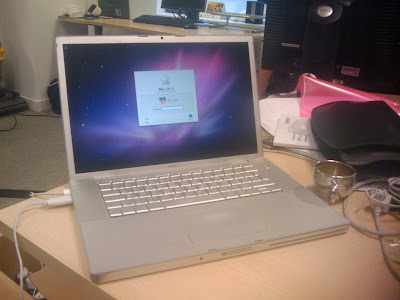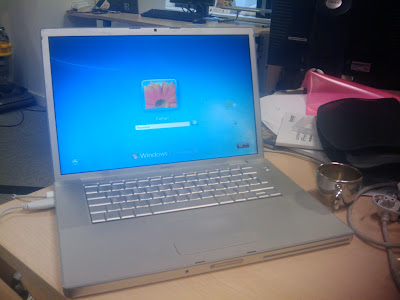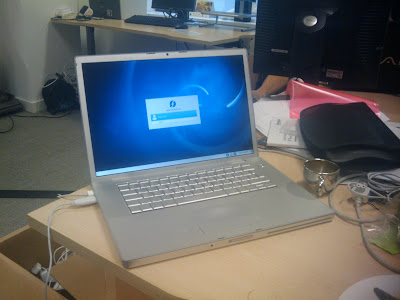
I have finally been able to install (and, more importantly, boot) 3 distinct operating systems on my work laptop; a MacBook Pro 3,3. I have been using my Mac in a dual-boot configuration for several years now; booting between OS X and Fedora. Being able to boot into OS X has allowed me to apply any new firmware released as part of an Apple Software Update, as well as providing a quick-booting OS for basic web browsing (less so now with the advances made in the Fedora distribution and Linux in general).
Having used Windows 7 on my home PC for some time, I decided that this would be the version of Windows that I would endeavour to install on the Mac alongside the other two operating systems. I've found Windows 7 to be a great improvement over Vista and, dare I say it, actually an enjoyable desktop OS to use. Of course, Windows 7 would also allow me to fully partake in any gaming sessions that I happened upon while I had my laptop! However, the most compelling reason to get my Mac triple-booting was to learn more about GPT, EFI and the boot process in general on an EFI-based system.
Obviously, the first step I took was to ensure I had a recent backup of all the important data from my machine, as I would be completely trashing the existing partition table. Once I had done this, I began the installation of the first operating system.
OS X

I inserted the Snow Leopard installation DVD into the machine and booted from it. From the installer, I accessed the Disk Utility and created a new GPT partition scheme consisting of 4 partitions (well, technically 5, see below for further details):
- OS X: 90GB, HFS+, Journaled and Case-Sensitive
- WIN7: 120GB, MSDOS
- LINUX: 3GB, MSDOS
- LVM: Remaining Space, MSDOS
I then exited Disk Utility and continued with the installation of the operating system, directing the installer to use the "OS X" partition.
Windows 7

As the laptop uses an Intel Core 2 Duo CPU, I opted to install the 64bit version of Windows 7 Professional. When choosing where to install the operating system, the partitioning tool displayed a rather different view to the OS X Disk Utility; a small FAT partition (used by EFI) was positioned in front of the OS X partition, while some of the drive was marked as unallocated space. I carefully selected the 3rd partition, confirming I had the correct one by looking at it's label (WIN7) and size (approximately 120GB), and formatted it using the "Advanced" features of the partitioning tool. This is a necessary step, as the OS X Disk Utility formats the file system as FAT32 and Windows 7 requires NTFS. After this, I proceeded to select the partition I had just formatted and installed the OS.
During the installation process, the machine had to reboot, which meant I had to ensure that it booted from the Windows 7 partition in order to complete the install. On a Mac, this is accomplished by holding down the "alt" key on the keyboard when the system first boots. It causes a basic boot manager to eventually be displayed, where you can select which of the installed operating systems to boot.
Fedora 13

Finally, I booted off the Fedora 13 installation disc (again, opting for the 64bit release). When I was presented with the partitioning tool, I found I had to manually format the 4th partition as ext3 and the 5th partition as an LVM physical volume using the command line. This involved switching to another virtual console, which on a Mac requires you to hold down the "fn" and "alt" keys and press "F2". From here, it is possible to use the
mkfs.ext3 and lvm command line tools to format /dev/sda4 partition, create an LVM physical volume on /dev/sda5, a volume group and some volumes.Again, I had to be wary of choosing the wrong partitions because, as with the Windows 7 installation, the tools displayed a more complicated view of the partition table; the EFI partition and un-partitioned space were visible.
Once I had finished on the command line, I switched back to the graphical installer ("fn", "alt" and "F7") and instructed the partition manager to use
/dev/sda4 as the root partition and the newly created LVM volumes for /usr, /tmp, /var, /home and swap. It's important to note that I didn't define a separate /boot partition; this is because I wanted to keep the partition scheme as simple as possible, see below for details.When the installer reached the stage where you define where GRUB should be installed, I found that the suggested default option was what I needed;
/dev/sda4. This is different to a more vanilla install of Fedora, where you would usually install GRUB to the Master Boot Record (MBR); here, there is no MBR to install to as the partition scheme is GPT.Final Steps
After the Fedora installation completed, I rebooted into OS X (by simply not pressing anything when the machine initially boots) and installed rEFIt. This appears to be the only bootloader that would allow me to boot all three installed operating systems. I had to run the rEFIt partitioning tool before this was possible however; accessible when rEFIt loads at boot-time. This performs the necessary magic that syncs the hybrid GPT/MBR partition table, allowing each OS to boot correctly. I had to perform one final restart of the machine, which is another option in the rEFIt bootloader, and then my triple-boot Mac was complete; apart from all the subsequent OS updates and configuration, of course!
Troubles Encountered and Lessons Learnt
As mentioned previously, this install procedure took me several attempts to get right. I tried using boot camp originally, but soon found that it added unnecessary complexity to the partitioning process. I also found some guides that demonstrated methods for partitioning the disc using the Disk Utility in OS X, but this assumed an existing OS X installation was present on the system. However, as this second approach mentioned the use of Disk Utility, I assumed that using this tool to create the partition scheme for all the operating systems would work; and I was correct!
While on the subject of partitioning, I did end up discovering exactly how the hybrid GPT/MBR partition table works. OS X itself requires a GPT partition scheme; it simply refuses to install to any MBR-style disk. However, Windows requires an MBR partition scheme to boot from and will refuse to install into a partition that it believes resides on a GPT formatted disk.
The hybrid GPT/MBR scheme allows the first 4 partitions of the GPT scheme to be used as an MBR-style disk. However, it is not possible for one of these partitions to be created as an extended partition. On a pure MBR disk, you are restricted to defining 4 primary partitions. One of these can be used to hold further logical partitions, which allows for more complicated partition schemes (i.e. more than 4 partitions).
Because GPT does not allow for extended and logical partitions to be defined, a hybrid implementation limits the MBR scheme to 4 primary partitions. On top of that, because we're booting an EFI based system, there is a hidden FAT32 partition at the beginning of the disk where boot configuration is stored. This brings the total number of MBR partitions available for operating systems to 3; hence why my 2nd, 3rd and 4th partitions are used by OS X, Windows 7 and Fedora's root/boot file systems respectively. Theoretically, it should be possible to install a Linux distribution into higher numbered partitions, however the GRUB boot loader used by Fedora only understands MBR, not GPT. In order to maintain some file system organisation, I created the 5th partition as an LVM logical volume, bringing all the flexibility of resizeable volumes to the Fedora install.
The other major issue encountered was actually booting off the Windows 7 install DVD. I had sourced a copy of Windows 7 Professional 64bit from the Microsoft Partner program site; which resulted in a rather large ISO image being downloaded to my machine. After burning this to DVD and attempting to boot off the disc, I found I was unable to progress past what appeared to be a broken boot menu. There were 2 options, however, both were lacking any explanation as to what it was I would be booting into! On top of that, neither option appeared to want to boot, and I was left with the impression that the system had actually crashed.
I did some research and found that the problem because of the way the image was mastered. Apparently, some important component used in the boot process is not able to handle files that conform to the ISO 9660 standard; specifically, version numbers being appended to the file name.
This made it necessary to re-master the provided image and burn it with some rather specific settings; the most important seemed to be force the omission of the version numbers (see the previously linked blog post for further details). Once I did this, the laptop booted from the disc perfectly.
Overall, I'm very pleased with the fruits of my labour. The real test will be to see if I can replicate the results on another machine.