After my experimentation with overclocking (parts 1 and 2) and an small change to the cooling in my system, I had decided to upgrade my from the Arctic Freezer Pro rev 2 to a Corsair H80i. After the switch, I was very impressed to notice my CPU running more than 10°C cooler when at load, whether it's Prime 95 or Arma2! This should give me the headroom I need to try and push the clock speed a little higher. While I installed the new CPU cooler, I took plenty of pictures to document the process. Some of the more choice shots are below.
Here are the upgrades; I decided that if I was going to go to the trouble of upgrading the cooler, I should get some decent thermal paste. I went with Arctic Silver 5, as it's well known and gets good reviews and feedback all over the web.


The patient, ready for the transplant:

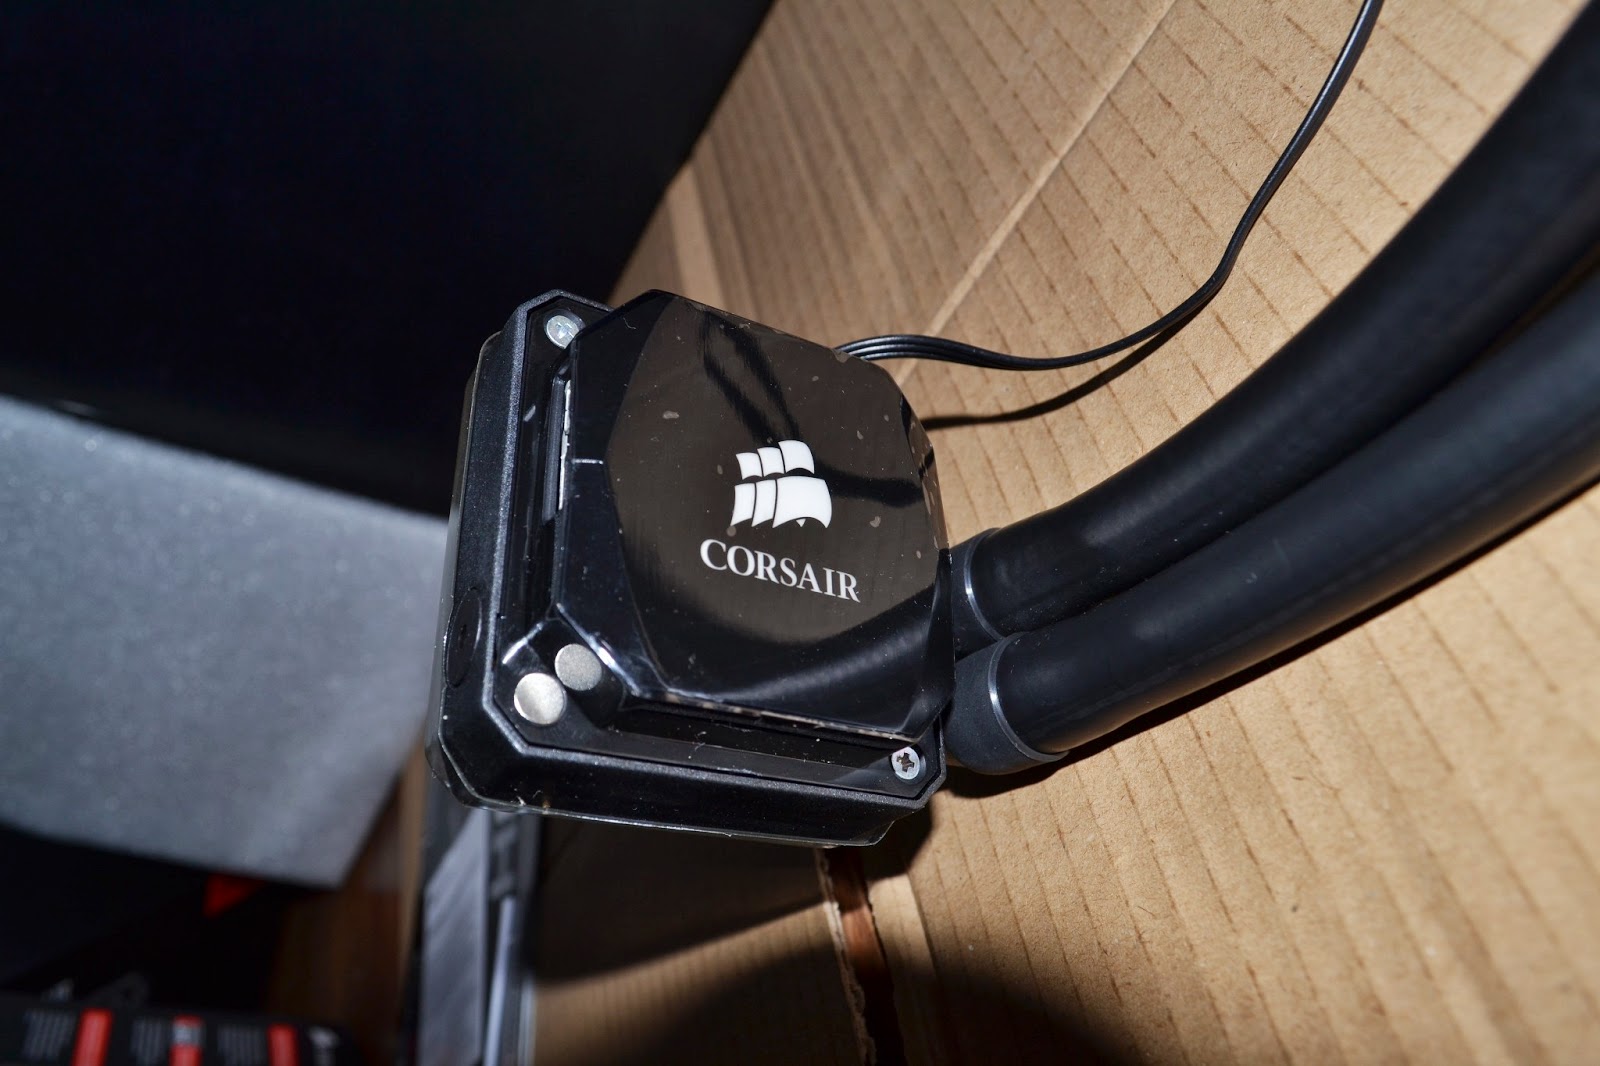
Here's the cooling loop, and the CPU block with some protective plastic still attached.

My Phenom II after removing the old cooler and clearing off the old thermal paste. It hadn't seen the light of day for three years now...

Another shot of the cooling loop. I promise the bottle of white spirit to the side was just to help clean off the thermal paste from the CPU block.

This is the radiator, with both fans attached, mounted on the inside of my Thermaltake M9. There was a brief moment of panic when I thought it wasn't going to fit inside the chassis!

The next couple of shots show the tinting process, which precedes the actual "proper" application of the Arctic Silver 5 paste. As per the instructions in the guide provided on the Arctic Silver site, I applied a small amount of the compound to each metal surface (on the CPU block and CPU itself) and spread it carefully using an old BCS membership card. This is meant to reduce the burn-in process by filling in the microscopic valleys in the metal surfaces.


After applying the thermal compound (using the "middle dot" method recommended on the Arctic Silver site), I managed to get the CPU block positioned and secured over the CPU.


As the chassis doesn't have great cable management, I try to position spare cables alongside the motherboard tray in the space available.

A couple of shots of the finished job, during the day (not as impressive as the later night shots in my opinion). You can see the illuminated Corsair logo on the CPU block, by default it's a white-coloured light, but it's possible to change this in the Corsair Link software.


And with the side panel off.


Once the daylight began to fade, I took a few more shots - I think the case looks more impressive in the evening!


And finally: the money shot. A close up of the CPU block inside my rig. By this time, I'd set the logo to be a blue colour in the Corsair Link software. It is possible to set the logo to change colour depending on temperature, but I decided against this because I can't see inside the machine while I'm gaming.
