
It's been a couple of years since I built my primary desktop machine/gaming rig. I had built the machine on a fairly tight budget back then, opting to re-use some components from my previous desktop. Since then, the machine's only upgrade has been a necessary storage boost in the form of a 1TB HDD.
The majority of the games played on the system didn't really tax the 5770 driving the graphics, however, certain titles it was not possible to play at 1920x1080 without sacrificing texture detail. Combine that with the release of more taxing games, like Battlefield 3, I finally decided a GPU upgrade was in order.
Decisions, Decisions...
Choosing a GPU can be a tricky business; the numeric naming schemes in use by both AMD and Nvidia do not provide much clue as to what features/specs the card offers and bigger numbers don't always mean better performance, especially when talking about a card's on-board memory, it would seem.
I had around GBP 200.00 to spend on the upgrade, which is a reasonable amount to play with and I wanted to make sure I got the best could get at that price point. I did a fair bit of research, reading various sites' GPU reviews and round-ups, including a very useful "Best PCIe Card for your Money" article on Toms Hardware.
In the end, the two cards I whittled my choices down to were an Asus 560Ti with 1GB of on-board memory, or a Sapphire HD 6950 with 2GB. After much agonising, I opted for the Sapphire for the following reasons:
- The 6950 GPU has the potential for an after-market performance boost via a BIOS tweak; unlocking the additional shader units disabled by AMD when creating 6950 GPUs from the 6970 chip. It's also possible to then overclock the GPU to the same voltage a stock 6970 operates at, producing a card that performs almost identically to a reference 6970! Obviously, this process isn't guaranteed to work, and can result in rendering a card pretty much useless, which is why the Sapphire card ships with a dual-BIOS system. A small switch flips between the two BIOS images stored on the card; allowing safer experimentation with the card.
- I had read that Battlefield 3's high res textures can really take advantage of cards with more than 1GB of RAM; all those textures have to be loaded somewhere for them to be used!
- AMD's stereoscopic 3D implementation, HD3D, is functionally different to Nvidia's 3D Vision; essentially, it is geared towards using an existing 3D display and glasses. I own a 3D TV and, even though I don't use the 3D feature much (a lack of content more than anything else), I decided that HD3D would be better suited to me, in case I ever decided to give it a whirl. This was despite 3D Vision being a more mature product.
- My M4A77TD-Pro motherboard only supports AMD Crossfire and not Nvidia's SLi. If I ever wanted to run a dual-GPU configuration, I need AMD graphics cards.

The Plan
While waiting for the upgrade to arrive, I decided on some further changes I would make to the rig while installing the new GPU:
- Remove the Enermax PSU in the system and install a Corsair VX550W that I had been lucky enough to win in a competition.

- Remove two older hard drives from the system. One was the 160GB HDD I had Windows installed on before the HDD upgrade I mentioned previously, the other a 300GB device that was the home of the Fedora install. I finally decided that the desktop was booted into Linux so little, it would make sense to move the functionality offered by the OS to another, dedicated machine.
The Process
After disconnecting the mass of cables from the rear of the system, I took the side panel off in order to get at the components I needed to remove:

As you can see, it wasn't the prettiest of systems, so I made a note to try and run the cables in a tidier fashion with the new PSU. Getting at both the GPU and PSU out was easy and before long I had the new PSU installed:

At this point, I realised that between the Enermax and Corsair PSUs, I had enough extra black screws that I decided to make a minor aesthetic change; replacing the silver screws at the back of the case. I always wondered why a black case was shipped with plain metal screws; I guess because they were at the rear, it saved a small amount of money not having them coloured. After swapping them over, I realised I would need to invest in some black thumb-screws if I wanted to complete the look:

After the quick wins of the previous two modifications, I found removing the HDDs far trickier. The Thermaltake case has a removable 3.5" HDD cage that is mounted at the front of the chassis; you can see where by finding the HDDs in the above picture. The problem was that to un-mount the HDDs themselves, I had to remove the cage, which was made impossible by the front-panel I/O connectors at the bottom of the motherboard:
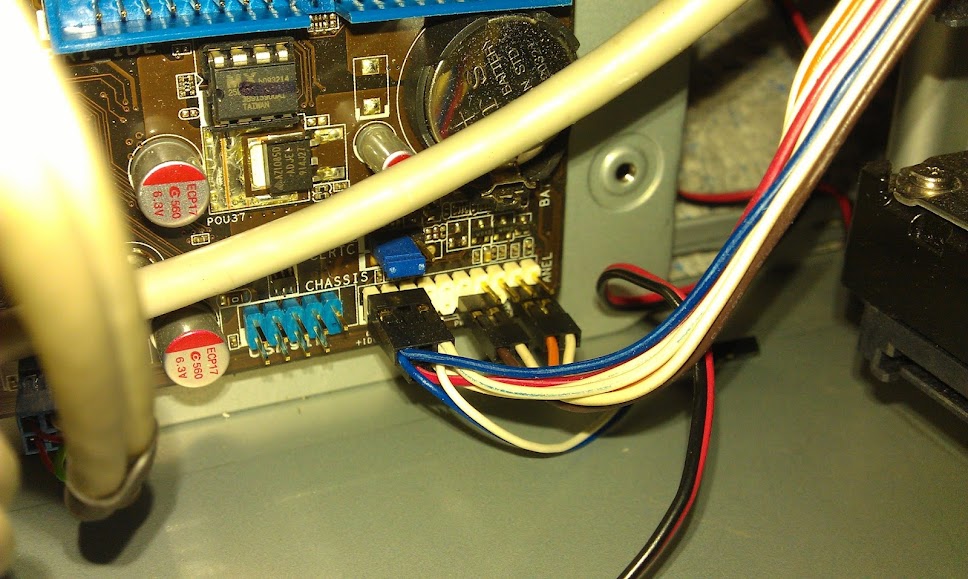
Ensuring these connectors are appropriately wired up is one of the most fiddly bits of a PC build in my opinion, and I loathed the thought of removing them to get the cage out. No matter how I tried, I couldn't safely slide the cage out and so had to unplug all the front-panel I/O to proceed!
After I finally had the old drives out of the chassis and the new GPU in, I proceeded to connect the various power leads to their respective components. Not only was I careful to bundle up extra cables, but I ran the HDD and fan power around the back of the chassis, which resulted in a much tidier interior than before:


The Result
Overall, I am very pleased with the way the upgrade went; it only took a couple of hours and the system is much cleaner to boot! The system produces far smoother game-play and/or better detail; which was lucky because Bethesda had just released free Skyrim hi-res texture-pack DLC!

Despite the ease of the physical upgrade, I have experienced some odd issues with the system in the months following. Nothing too disruptive, but enough to warrant a separate post or two. Stay tuned... Hopefully I'll get around to posting them soon!